Thursday, May 10, 2012

Lace Ribbon Border Punch Tutorial

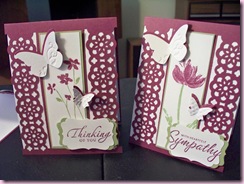
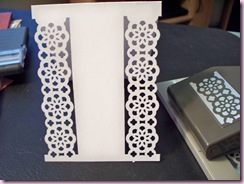
I ran across a beautiful card on Splitcoaststampers using the lace ribbon border punch.  That lead me to a video tutorial by Frenchie on her blog here.  Frenchie’s tute is informative (and I love listening to her) and it is full of good ideas.  I went over to Pam’s last Friday and we putzed around with the punch and I figured out a much easier way to do it.  Frenchie punches three times and was a little confusing on where to punch.  I only punch twice on each side.  I made four cards last night.  Here are two of them.

100_1716

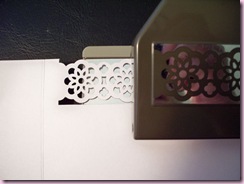
My friend Dee in St. Louis loves the technique, but wanted me to splain to her how to do it the easy way.  So, I took some pictures and did a little tute.  Cut and score a piece of cardstock, 11 x 4 1/4”.  Insert CS in the punch with the score line lined up just to the edge of the punch as shown.  Punch.

First

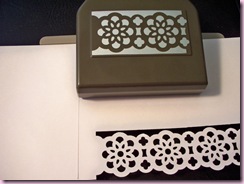
Move CS to the left to match up the punched area to the guide on the punch till you can’t see any silver.  Make sure right side of CS is snug in the punch and punch.

Second

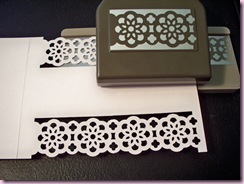
As Frenchie explained, the only way to make the two sides match is to turn the CS over before punching the next side.  The second side will be a little rougher, but it is still nice.  Repeat the two steps above.

Third

Fourth 

As Frenchie would say, “Voila.”

Final

Another major difference between mine and Frenchies card is that I inserted a 10 7/8” by 4 1/8” white piece of CS, scored in the middle.  It’s pretty to have the lace floating around like Frenchie has hers, but I don’t have any sentiment stamps that would fit under the center panel.  Writing in the card would also look funny through the lace.   

After I saw Frenchie’s tute, I saw a gorgeous card on SCS that steps it up even farther by BronJ, here.

Thanks for stopping by. Comments always welcome.

(-: ¸.·´* .·´*¨¨)) –:¦:- *** ((¸¸.·´*~Kathy~.·´*)****¨¨)) -:¦:- ·· ((¸¸.·´* .·´*((¸¸.·.·´ *-:¦:- ... :-)

Creative Images May Meeting

We had seven ladies at our meeting last, what with sickies and vacations.  Ella sent in her exchange card with Therese, so we did get eight cards.  Only two brought in ATC’s.  The theme this month was “Spread Your Wings,” and we sure did. 

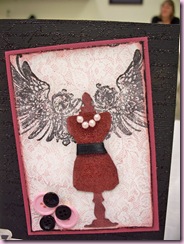
First of exchange cards is Tange’s winged dress form, with pearls and buttons, no less.  Click on any pic for details, then back to return.

Wings - Tange 

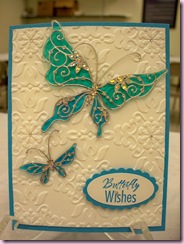
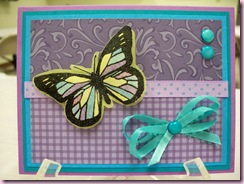
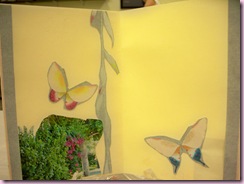
Here’s my flutters made with stickers, mounted on acetate, colored with markers on backside, then fussy cut.

Wings - Kathy

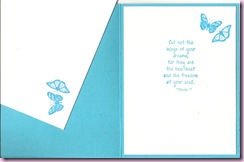
Inside my card and the envelope.

Wings - Kathy's inside

Here’s Lona’s embossed, colored and fussy cut butterfly.  Great colors.

Wings - Lona

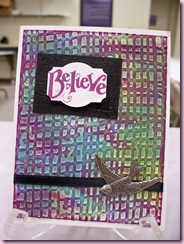
This is Nancy’s interestingly colored embossed Believe, with lovely metal bird bellie.  She colored the embossing folder, then sponged additional colors on it after running it through big shot.

Wings - Nancy

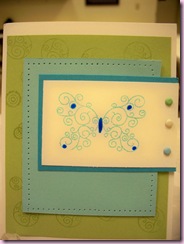
Here’s Pam’s pretty embossed swirly flutter, with something shiny blue for details.  She pierced all the way around for faux stitched look.

Wings - Pam

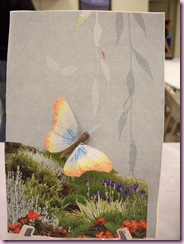
Shannon is new to stamping and didn’t have much supplies or equipment to work with, so she jumped right out of the box with this butterfly.  She made it with feathers and wires, and attached it to a base with pretty photos, inside and out.  The butterfly’s body is feathers, too.  Way cool.

 Wings - Shannon 1Wings - Shannon 2 

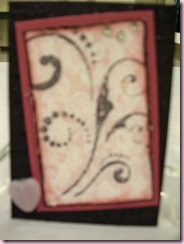
On the left is Therese’s ATC, my fave of six, all similar, but different ladies.  Sorry about the blurry pic of Tange’s ATC.

ATC - Therese ATC - Tange

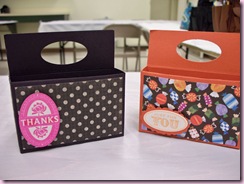
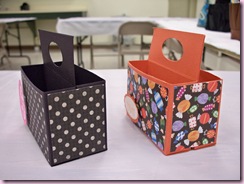
Here are the two samples of the little box Nancy did for her project.  Quick and easy with diecut CS, using two for each box.

 Project Samples 1 Project Samples 2

That’s it for now.  Thanks for stopping by. Comments always welcome.

(-: ¸.·´* .·´*¨¨)) –:¦:- *** ((¸¸.·´*~Kathy~.·´*)****¨¨)) -:¦:- ·· ((¸¸.·´* .·´*((¸¸.·.·´ *-:¦:- ... :-)