Monday, October 19, 2015

Creative Images October Meeting

Before I start on the meeting, I have to wax poetic about the change in the weather.  Thank God it’s COOLER!  I have woke up the last three days to a house that is cooler than the setting of 74 that has been on the A/C since April, 24/7.  I actually started the last few days in a top that has sleeves!  Short ones, of course, but not a tank top!  Still in shorts and sandals, but that won’t change for another month.  Of course, now that it is late afternoon that I am doing this, I am in a tank top and the A/C has been running.  Oh, well. 
We had eight ladies at our meeting last Wednesday night, and with Pat J still getting a by on doing an exchange card, we had seven for our theme of “Ladies Wear.”  Also,six ladies participated in the ATC swap.  Ellie did the project for October, a darling Halloween card and she brought a great show and tell.
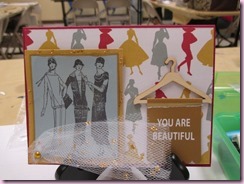
First up, our Ladies Wear cards.  Click on any pic for details, then back to return. Cheryl B starts us off with her fashionable “beautiful” ladies.
Ex-Cheryl B
Ella fussy cut these lovely stylish outfits with pearls on a quilted/embossed background.
Ex-Ella
Jeannie made this lacy collage with a bra and a camisole.  She wanted to make sure I pointed out the sentiment on the front, “Where is the booby fairy when you need her.”
Ex-Jeannie
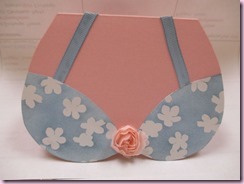
This is my card with the bra and panties made from a pattern my friend Misty found for me on Pinterest.  If I had it, I would have stamped “Thank you for your support” inside.
Ex-KathyEx-Kathy 2
Pam made this power suit, including lacy edging, a sparkly necklace, and a button.
Ex-Pam
Pat R made this Halloween colored “Peekaboo” merry widow, with a little treat inside!
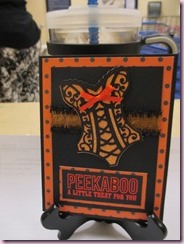
Ex-Pat R1
Eeek!  Surprise!  I love how she punched out the spiders on the white piece, drew in the webs, and added tiny eyes with a white pen.
Ex-Pat R2
Therese colored in these four old ladies “waiting for Mr. Right,” that laughed so hard they had “tears running down” their legs.
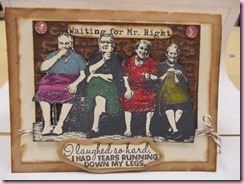
Ex-Therese
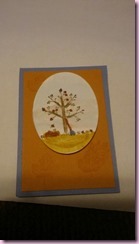
During the chaos of making our project and sorting out the ATC’s, I neglected to get pictures of two of them.  Luckily, I got Jeannie to make a list describing the ATC’s and who did them, so when I found I missed two, Pam texted me pics of them.  First up on the left is Cheryl B’s Life itself, gently sponged. Pam colored the Fall tree with a rake leaning on it. 
ATC-Cheryl BATC-Pam
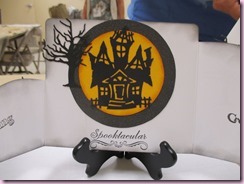
These two are Ella’s fussy cut owl and Pat R’s haunted house, that I think was either a die or a Cricut image.
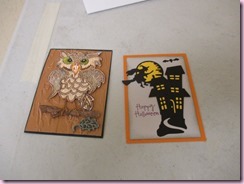
ATC-Ella&Pat R
Here are Jeannie’s “Bee uti ful” bees/
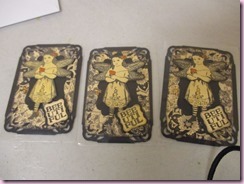
ATC-Jeannie
Therese made these crazy Tim Holz birds. I don’t know if they were fussy cut or dies, but they were all cute.
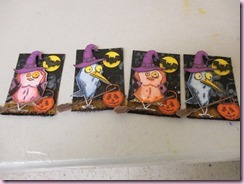
ATC-Therese
Before she showed us her project, Ella shared with us her pumpkin full of “pumpkin teeth!”  Loved it!
Pumpkin 1Pumpkin 2
Ella’s project really gave me a happy feeling as she liked my bendy Christmas card project from October 2013 so much, she made her Halloween card the same way.  You can see it through my archives to get the link to how I made it.  Ella die cut everything except the ghosts which we fussy cut.
Project 1Project 2
This is my finished version.  While making it, I realized that Ella’s base was one whole piece of cardstock.  Mine had panels that were attached.  Ella must have had some really big cardstock, as opened up the card is more than 12” wide.  Hers was a lot easier to assemble.
Project-Kathy 1Project-Kathy 2
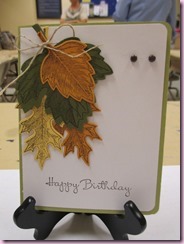
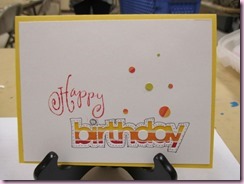
Finally, it was my birthday on the 14th and I got some nice cards from Jeannie . . .
BD-Jeannie
Pam . . .
BD-Pam
Pat J . . .
BD-Pat J
and Pat R.
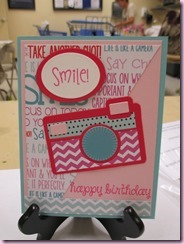
BD-Pat R
Thank you all.  Thanks for stopping by. 
Comments always welcome.
(-: .·´* .·´*¨¨)) –:¦:- *** ((¸¸.·´*~Kathy~.·´*)****¨¨)) -:¦:- ·· ((¸¸.·´* .·´*((¸¸.·.·´ *-:¦:- ... :-)

Thursday, October 15, 2015

Pam’s Workshop, Finally

I know I have last night’s stamp club pics to process and blog, but last month I promised I would blog everything I could from the make and takes and demo I did at Pam’s workshop on Sep. 26.  Took me a while to get everything together and prepare to give credit where credit is due, so here goes.

First, as I said in my last post, I swear, it was snowing in Ocala! Click on any picture to see details, then back to return.

Snowing

Our first make and take was inspired by the Stampin’ Up convention in August.  Up on the stage (recorded for later viewing by demos like me that didn’t attend), Sara Douglass made this gorgeous card with the set Wonderland, the Merry Moments DSP 6” stack, and the Merry Moments cardstock pack.  Here’s one of each color. 

Wonderland

Our second make and take was this gorgeous Flurry of Wishes card CASE’d from Leena Girsa, first seen on Pinterest, then the video on her blog here.  I didn’t have her Softly Falling textured embossing folder,but we made do.

Believe

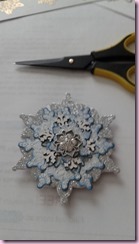
Because we had time, I shared this ornament at my workshop and gave everyone enough snowflakes to make one for themselves.  I couldn’t figure out which lady at the SU convention did this on stage, but that’s where I saw it. The one I made is a combination of this year’s Flurry of Wishes with the Flower Medallion and Snow Flurry punches, and wooden snowflake elements I painted white, together with last year’s Festive Flurry snowflakes and framelits.

Ornament

I saw this beautiful snowflake box on Pinterest, too.  Lynne Price, at this link had a great video on her blog on how she made hers.  Her accent makes her sound like Bridget in Bridget’s Diary!

flurry-of-wishes (3)

I tried making hers which was confusing with her English measurements and when I actually got the box made, I realized that it was essentially the same as the little box I did as a make and take at Edie’s workshop in March of 2014.  You can drop down in this blog to see pics there, together with links to how to make it.  At Pam’s workshop, I gave everyone a pattern to make their own box.  The box I made was much smaller and less elaborate than Lynne Price’s box and fits in a regular quarter-card envelope.

Snowflake box

Last, but not least, I showed everyone how to easily cut detailed diecuts using dryer sheets.  The sandwich I found also called for wax paper, but Pat J convinced me wax paper was not needed.  It was a real WOW moment when I lifted the die off the sandwich and peeled the cardstock off the dryer sheet, leaving all the tiny bits of butterfly behind.

The sandwich I used, from the bottom up, was:

Magnetic platform (nice but not critical)

Clear Cutting Pad

4 layers of dryer sheet

Cardstock

Die with cutting side down

Clear Cutting Pad

I got four layers of dryer sheet by unfolding two new ones and then refolding them in half.  This is the dryer sheet sandwich that works for my Big Shot.  The sets I used were Butterfly Basics and Watercolor Wings, with the matching Bold Butterfly framelits and Butterflies thinlets.

Using this sandwich, I cut enough butterflies to make everyone a butterfly.  At home, I then made enough to make thank you cards to include in everyone’s order.  I used the new fine tipped glue pen to put down the words. 

Thanks

That’s it for Pam’s workshop.  Thanks for stopping by.  Comments always welcome.

(-: .·´* .·´*¨¨)) –:¦:- *** ((¸¸.·´*~Kathy~.·´*)****¨¨)) -:¦:- ·· ((¸¸.·´* .·´*((¸¸.·.·´ *-:¦:- ... :-)